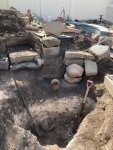
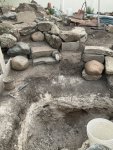
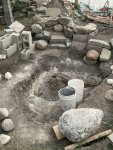
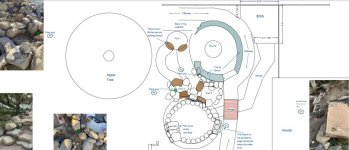
A very wise call.Also because of rain and worrying about washing my shelf out i tried not to dig at the actual edges yet untill I get my line
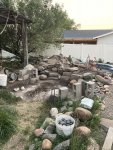
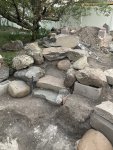
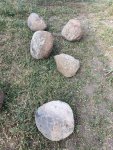
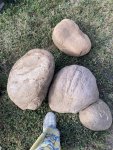
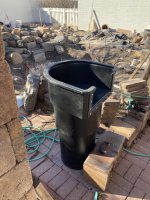
Also installing hay and or placing a blue tarp in the pond much like it was the liner can go a long way. Rock can disappear very quickly. What looks like a lot of rock usualy doesn't go half as far as we would like. And stacking rocks to a height of 5 feet and making sure they are 100% secure and stable so they don't fall onto someone who may be in the pond and hold them under is a real concern. I wish I was at your stage again I enjoyed every minute.
Good luck