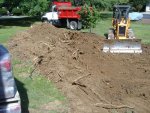
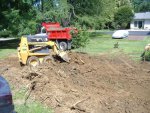
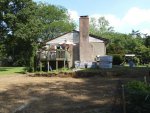
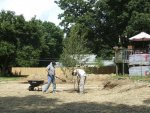
Ok.. so we started this job last year, fall of 2011.. We already had a 3500 gal formal pond that is showing it's age. It needed some work on the flagstone caps and edgers. Not a lot but of stuff but enough it was going to take quite a bit of my manual labor. Now we had also lost a huge Sugar Maple tree earlier in the year, spring 2011. It also damaged three 30-40' pine trees when it came down. When all the lumber was removed, we now had a deck that was no longer shaded and had some considerable yard around it now. This was were we originally wanted our pond 17 yrs ago but decided against it becasue of the trees there. So now was a good time to build a new pond where we wanted it and to expand and redeck our deck which is about 20 years old.
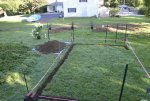
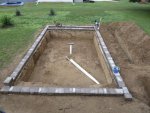
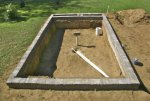
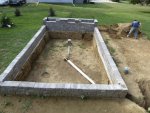
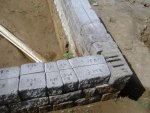
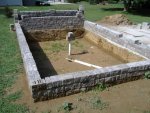
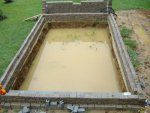
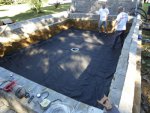
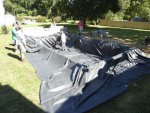
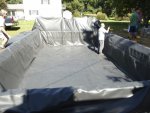
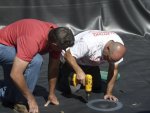
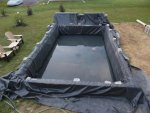
It took my wife and I a while to come up with the final design and layout. But we finally decided on a formal pond along with an expanded deck.
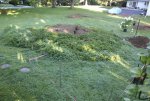
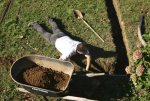
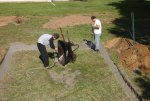
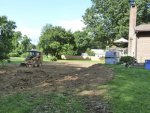
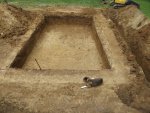
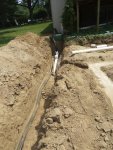
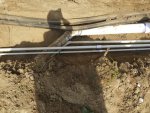
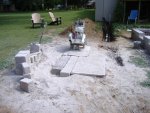
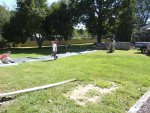
We had had the stump ground down when the lumber was removed. We roughed outlined the new pond.
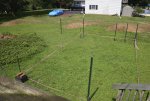
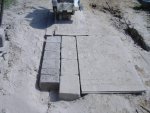
This was our clean slate to work with!
It took my wife and I a while to come up with the final design and layout. But we finally decided on a formal pond along with an expanded deck.
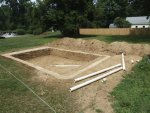
We had had the stump ground down when the lumber was removed. We roughed outlined the new pond.
This was our clean slate to work with!