You are using an out of date browser. It may not display this or other websites correctly.
You should upgrade or use an alternative browser.
You should upgrade or use an alternative browser.
DIY barrel ponds.
- Thread starter muppetdad
- Start date
Mmathis
TurtleMommy
- Joined
- Apr 28, 2011
- Messages
- 14,379
- Reaction score
- 8,401
- Location
- NW Louisiana -- zone 8b
- Hardiness Zone
- 8b
- Country

Wwlcome! Interesting idea.
- Joined
- Sep 14, 2013
- Messages
- 6,324
- Reaction score
- 5,100
- Location
- Cincinnati, Ohio
- Hardiness Zone
- 6 A
- Country

I think it will have lots of character.
- Joined
- Jun 23, 2010
- Messages
- 45,124
- Reaction score
- 30,199
- Location
- Frederick, Maryland
- Showcase(s):
- 1
- Hardiness Zone
- 6b
- Country

Don't let them dry out, the wood shrinks, I whiskey barrels for my filters in arizona, if the wood shrinks keep adding water until it re-swells.
That will look great btw.
That will look great btw.
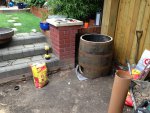
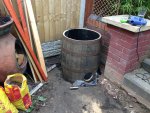
thanks addy, when I cut the tops off I let the barrels dry out in the sun for about a week just to see how much they would shrink by.. the results were not alot! I know the barrels wouldn't be totally dried out but there were no gaps between the struts and the bands wouldn't move at all.
But I hear what you're saying, through the summer months I will give the barrels a good soaking every time I water the garden.
thanks again for your reply.
But I hear what you're saying, through the summer months I will give the barrels a good soaking every time I water the garden.
thanks again for your reply.
Attachments
I managed to get the pipe in place today and all insulated but I'm still struggling to upload photos the right way round, I think it something to do with the orientation of the phone when I originally taken the photo.. even if I flip the photos before I send them they are still upside down 
Attachments
j.w
I Love my Goldies
- Joined
- Feb 1, 2010
- Messages
- 34,113
- Reaction score
- 20,995
- Location
- Arlington, Washington
- Showcase(s):
- 1
- Hardiness Zone
- USDA 8a
- Country

Yep that is thicknessP.s 45mm? is that thickness jw?
For a while then I thought you actually meant 45mm thick until I realised its 0.45mm  dur
dur
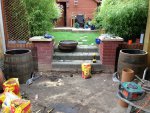
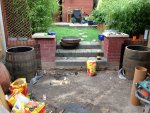
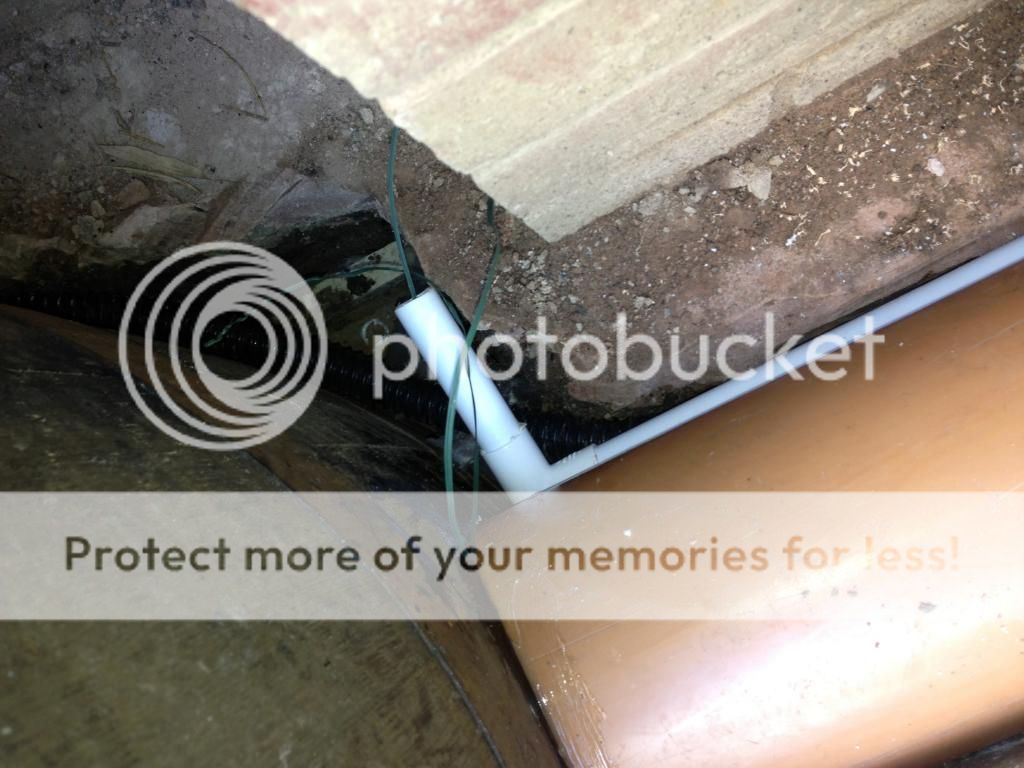
the pipe is now in place and the insulation started around it, I have also ran some flexible pipe and a solid length of pipe through the back of the step inside the insulation to take the filter feed and wiring for the pump.
the pipe is now in place and the insulation started around it, I have also ran some flexible pipe and a solid length of pipe through the back of the step inside the insulation to take the filter feed and wiring for the pump.
Attachments
Im not sure what method you use to upload pictures but I will tell you how I have had success. I opened an account on photobucket and then I load my pics to there. Then whenever I want to load a pic to a forum, i go to photobucket, click the "IMG" link, which copies it, and then I past it right into the post here.
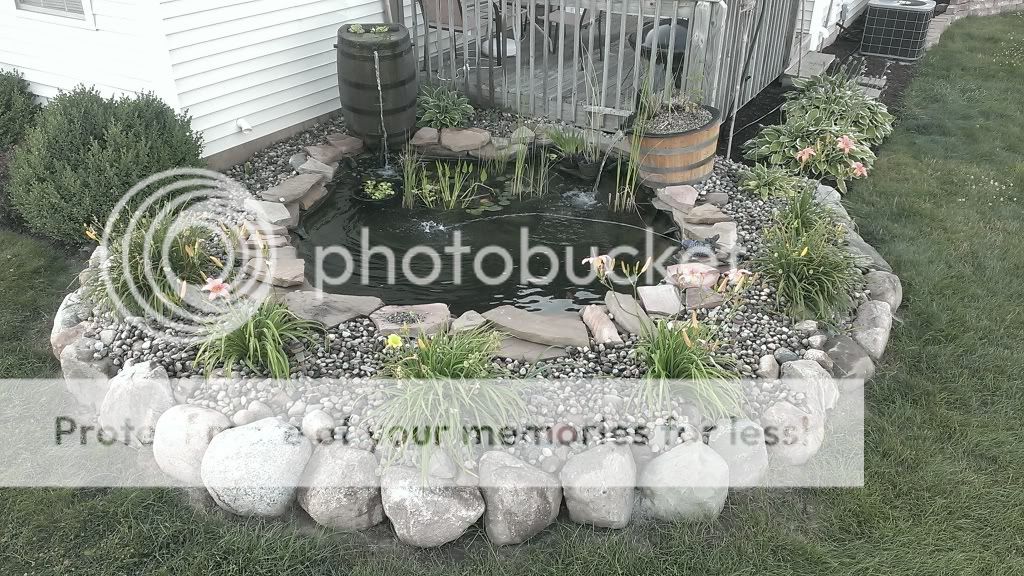

hope this works... hopefully this photo will show the 2 barrels either side of some garden steps connected with a 6" underground pipe.
[URL=http://s617.photobucket.com/user/pisnips/media/Mobile%20Uploads/image-3.jpg.html]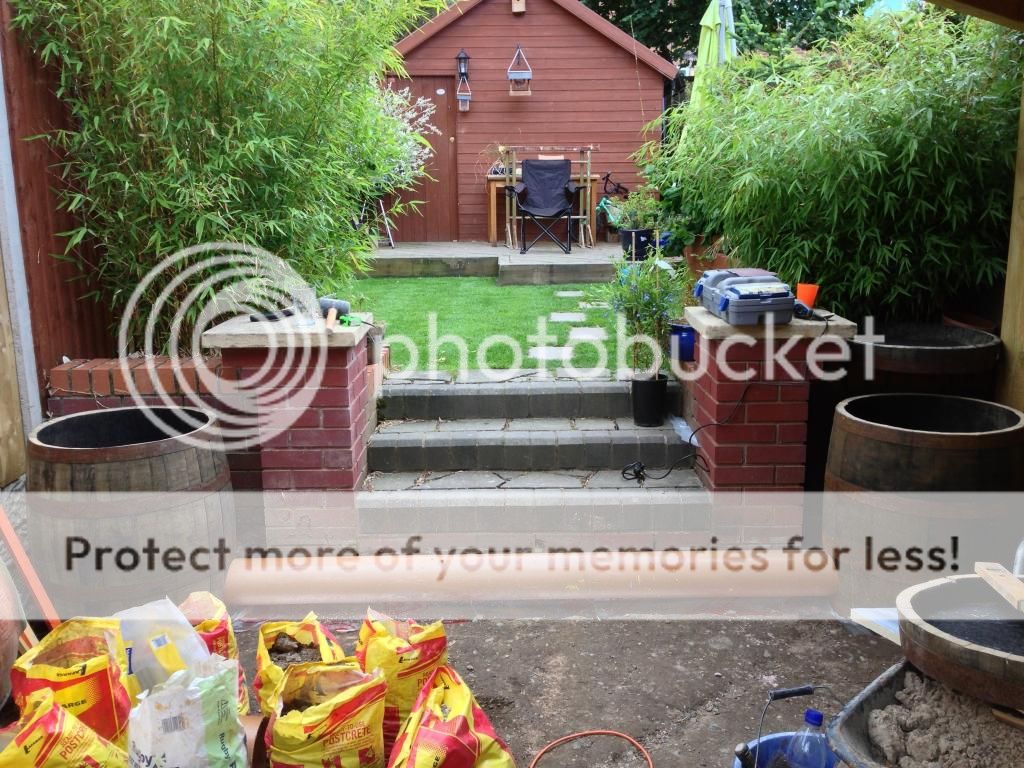 [/URL]
[URL=http://s617.photobucket.com/user/pisnips/media/Mobile%20Uploads/image-3.jpg.html]
 [/URL]
[URL=http://s617.photobucket.com/user/pisnips/media/Mobile%20Uploads/image-5.jpg.html]
 [/URL]
a flexible and solid pipe run underneath the 6" pipe and inside the insulation.
[URL=http://s617.photobucket.com/user/pisnips/media/Mobile%20Uploads/image-4.jpg.html] [/URL]
 [/URL]
a flexible and solid pipe run underneath the 6" pipe and inside the insulation.
[URL=http://s617.photobucket.com/user/pisnips/media/Mobile%20Uploads/image-4.jpg.html]
 [/URL]
I then boxed in the pipes using 25mm kingspan.
[URL=http://s617.photobucket.com/user/pisnips/media/Mobile%20Uploads/image-6.jpg.html]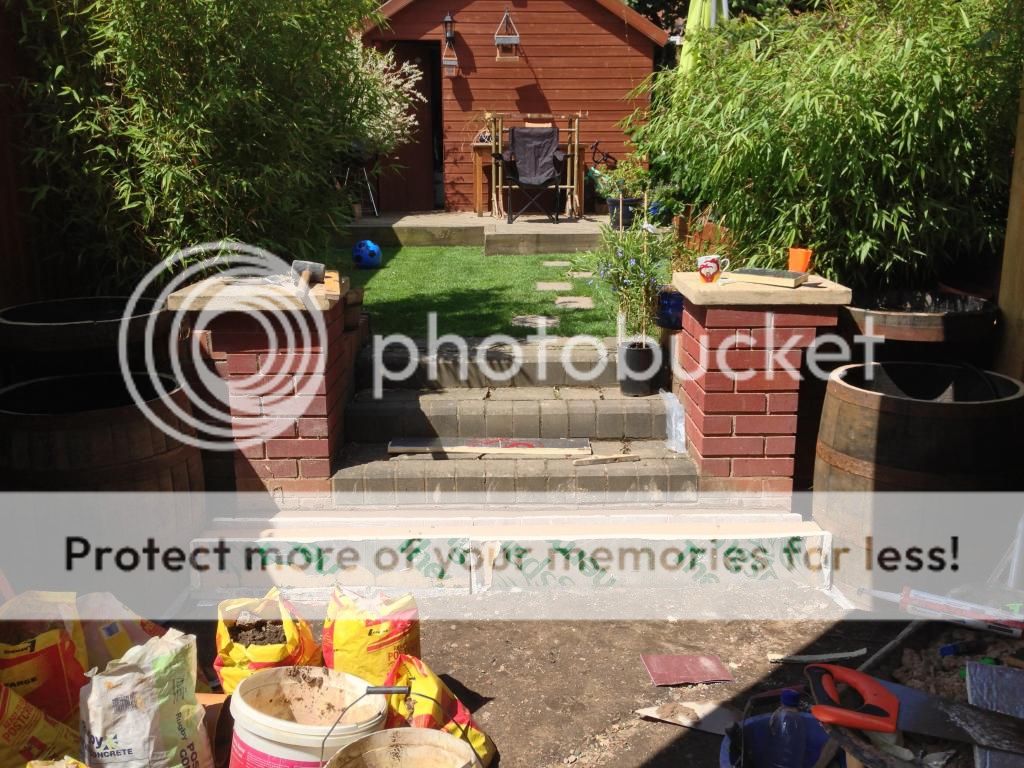 [/URL]
[URL=http://s617.photobucket.com/user/pisnips/media/Mobile%20Uploads/image-6.jpg.html]
 [/URL]
Ask a Question
Want to reply to this thread or ask your own question?
You'll need to choose a username for the site, which only take a couple of moments. After that, you can post your question and our members will help you out.
Similar Threads
Forum statistics
Latest Threads
-
Turtle Pond Red Mangrove victim of success!
- Started by Stephen Noble
-
Concrete lined pond and plants - please advice to very newbie
- Started by John Tired
-
Ultra sieve 111
- Started by LAK
-
Fungus?
- Started by Ana
-
He attacks again!
- Started by Chumley
-
Magnolia Bokeh
- Started by RobAmy
-
Spring has sprung in Tennessee -pic heavy
- Started by Hound Heaven
-
Whats next
- Started by Run91
-
Rapid change in "surface" algae
- Started by chibae
-
Pond Waterfall Setup Help
- Started by Acedink

