I've been building a 500sq.ft outdoor nature play arena for my ferrets, and wanted to include a water feature, partially for play variation and partly for drinking. I settled on a pondless cascade rather than another pond. This is the location for the waterfall cascade.

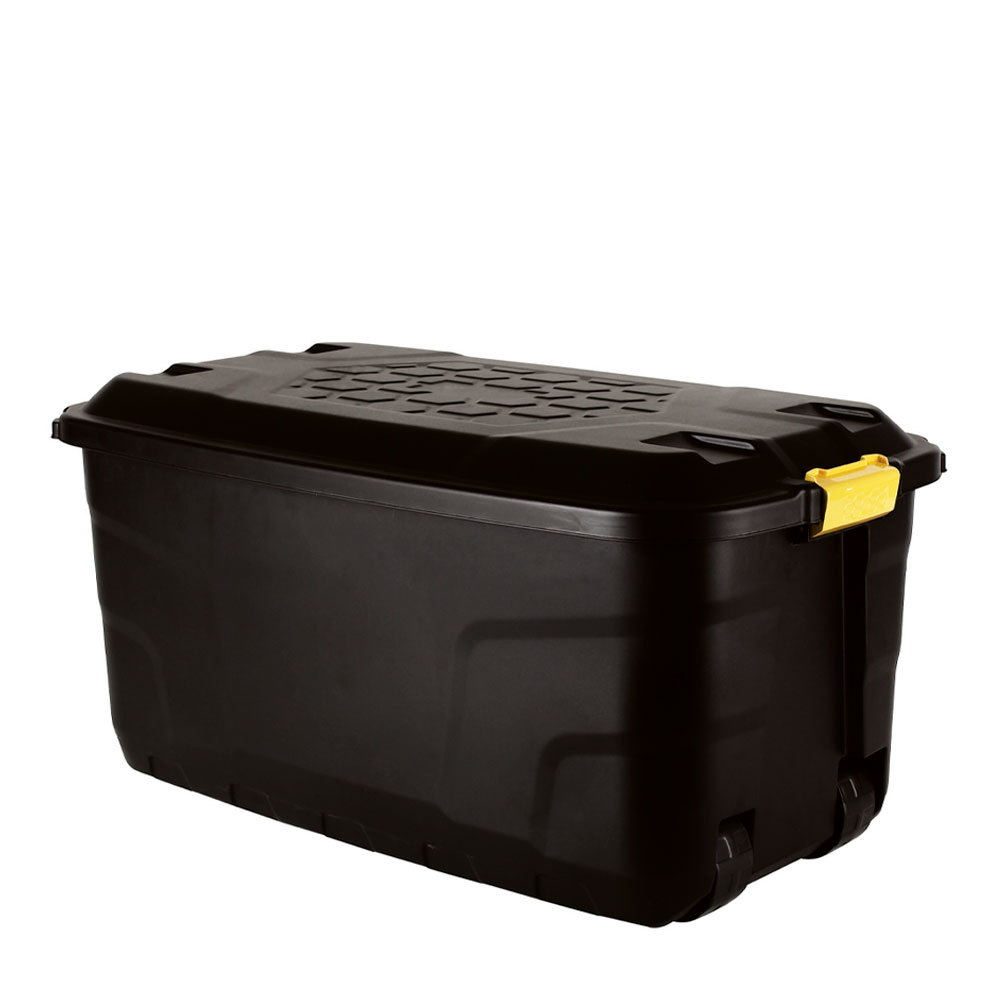
I started researching pondless waterfall installation and was directed to the usual 'kits', all of which were outrageously expensive for what they are. Not wanting to be conned by the inexplicable pricing, I decided to resource my own kit. Rather than $400+ for a plastic box just because its branded as an aqua reservoir, I found this super heavy duty 145L (38gallon) plastic storage box for £20 at my local hardware store.
So I dug a hole and dunked it in.


You'll notice at this stage that the lid looks a bit battered! Well, in the original 'as-new' photo of the box above, it comes with a convex lid (curving up and out) whereas I wanted it to be concave (dipping down into reservoir) as this would be better for water collection. Now, simply turning the lid over did the job, but this meant that it didnt have a 'lip' around the rim. I didnt want soil/debris from getting in over time, so I opted for what I thought might be a simple fix. I thought I'd simply heat the plastic with my heat gun and pop the lid down from convex to concave. Well the lid had other plans. The plastic was so heavy duty that it took a lot of heating and a lot of molding. It worked in the end without too much fuss. Whilst its not going to win any 'neat job' awards, it does work exactly as I wanted. I then simply cut slits in the top with my chop saw, and drilled some holes for good measure. Also cut out a pump access hole. Its very sturdy. I think I could probably have stood on it, but I didnt try! I also hooked up the 1" corrugated host at this stage. Its not the cheap brittle hard-plastic type of corrugated hose, but its not the expensive heavy duty stuff either. The pump was a OASE Aquarius Universal 2000Lph.
Next job was to decide the approximate path/profile of the cascade.
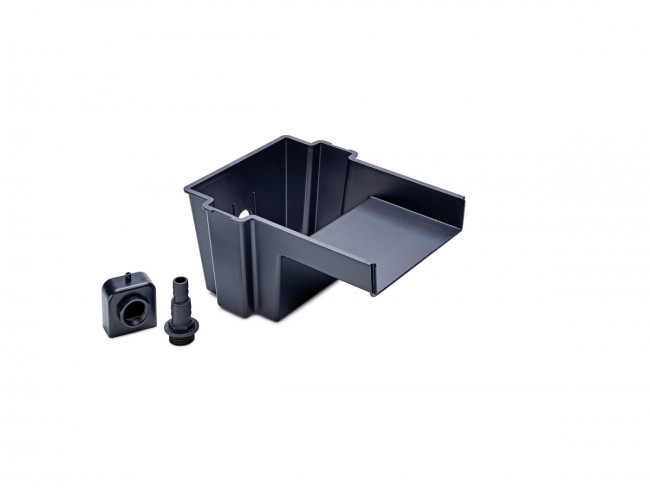
 Its not easy to see the 3D profile in the picture, but we have the initial spillway stone at the top and then two further spillway stones defining 3 'zones' in total. As I've mentioned spillways, this was the second of my big money saving wins. You can see at the top of the above picture, the black plastic spillway, which is a Pontec Pondofall for £35, which compared well to the astronomical prices of the aquascape/similar spillways at £250. Works perfectly for my setup.
Next job is the underlay, liner and overlay. I got some construction geotextile offcuts from my local builders yard for pennies, and had some quality liner left over from my pond rebuild last year, so saved a few quid there.

This led to my first mistake, which was that I created shallow edges and the overlay ran up and over the top. Quite obvious in retrospect, but this created immediate wicking and siphon effect, so water was leaking all over. So I decided to bulk up the soil on the sides and cut the overlay right back.

From there on it was just a case of trial and error in doing the decorative bits around the edges, and using some pond foam-fix to seal around the spillway stones to ensure water flows over not under/around them.

Then the finished final product. Its all looking a bit "new" at the moment, but hopefully before long it will age-in and blend a bit more with the surroundings.


I started researching pondless waterfall installation and was directed to the usual 'kits', all of which were outrageously expensive for what they are. Not wanting to be conned by the inexplicable pricing, I decided to resource my own kit. Rather than $400+ for a plastic box just because its branded as an aqua reservoir, I found this super heavy duty 145L (38gallon) plastic storage box for £20 at my local hardware store.
So I dug a hole and dunked it in.
You'll notice at this stage that the lid looks a bit battered! Well, in the original 'as-new' photo of the box above, it comes with a convex lid (curving up and out) whereas I wanted it to be concave (dipping down into reservoir) as this would be better for water collection. Now, simply turning the lid over did the job, but this meant that it didnt have a 'lip' around the rim. I didnt want soil/debris from getting in over time, so I opted for what I thought might be a simple fix. I thought I'd simply heat the plastic with my heat gun and pop the lid down from convex to concave. Well the lid had other plans. The plastic was so heavy duty that it took a lot of heating and a lot of molding. It worked in the end without too much fuss. Whilst its not going to win any 'neat job' awards, it does work exactly as I wanted. I then simply cut slits in the top with my chop saw, and drilled some holes for good measure. Also cut out a pump access hole. Its very sturdy. I think I could probably have stood on it, but I didnt try! I also hooked up the 1" corrugated host at this stage. Its not the cheap brittle hard-plastic type of corrugated hose, but its not the expensive heavy duty stuff either. The pump was a OASE Aquarius Universal 2000Lph.
Next job was to decide the approximate path/profile of the cascade.
Next job is the underlay, liner and overlay. I got some construction geotextile offcuts from my local builders yard for pennies, and had some quality liner left over from my pond rebuild last year, so saved a few quid there.
This led to my first mistake, which was that I created shallow edges and the overlay ran up and over the top. Quite obvious in retrospect, but this created immediate wicking and siphon effect, so water was leaking all over. So I decided to bulk up the soil on the sides and cut the overlay right back.
From there on it was just a case of trial and error in doing the decorative bits around the edges, and using some pond foam-fix to seal around the spillway stones to ensure water flows over not under/around them.
Then the finished final product. Its all looking a bit "new" at the moment, but hopefully before long it will age-in and blend a bit more with the surroundings.

") Looks good too
Looks good too