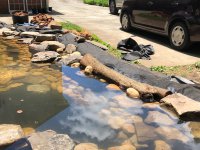
Never realized you had it so close to the home looks incredible and a great design and location.
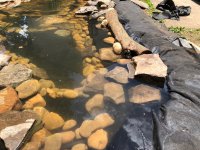
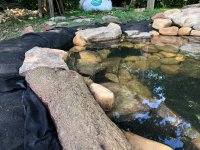
I know your getting close to leaving it filled but think about this . when you see a wall in an excavation and theres rocks sticking out the rocks are locked in by the soils. That look can be achieved using pond foam, a quick shot of foam between the rocks and then let the foam expand. don't worry about if it pushes out to much once it dries it is very easy to dress. i used the new multi tool with a scraper it shaped the foam to rock to rock . and this does another thing it will help keep the rocks from shifting. i did this in dead pool and it has withstood myself walking on the and so far so good. don't get me wrong it's not mortar but it is doing the job and makes it look like i'ts part of a wall not like rocks placed on a grade.
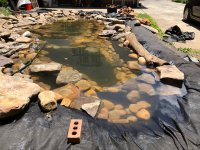
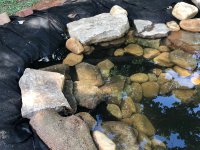
Love the last shot and what are you talking about you fought a good fight with those big boulders. Bigger than i man handled. your days of hunting and coming up with the layout sure paid off
I know your getting close to leaving it filled but think about this . when you see a wall in an excavation and theres rocks sticking out the rocks are locked in by the soils. That look can be achieved using pond foam, a quick shot of foam between the rocks and then let the foam expand. don't worry about if it pushes out to much once it dries it is very easy to dress. i used the new multi tool with a scraper it shaped the foam to rock to rock . and this does another thing it will help keep the rocks from shifting. i did this in dead pool and it has withstood myself walking on the and so far so good. don't get me wrong it's not mortar but it is doing the job and makes it look like i'ts part of a wall not like rocks placed on a grade.
Love the last shot and what are you talking about you fought a good fight with those big boulders. Bigger than i man handled. your days of hunting and coming up with the layout sure paid off
")